EveryWidget
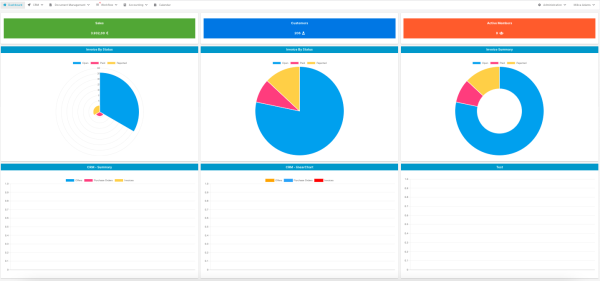
Widgets are useful and visually appealing interface components for an easy access to certain information. Widgets are placed on the “Dashboard”. They can be activated or deactivated and arranged as desired.

The "EveryWidget" app enables activation and deactivation of existing, as well as creation of new widgets. Additionally, it enables organizing widgets on the Dashboard to adjust it to company’s or specific group's needs.
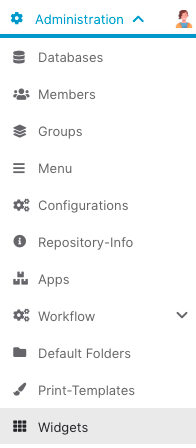
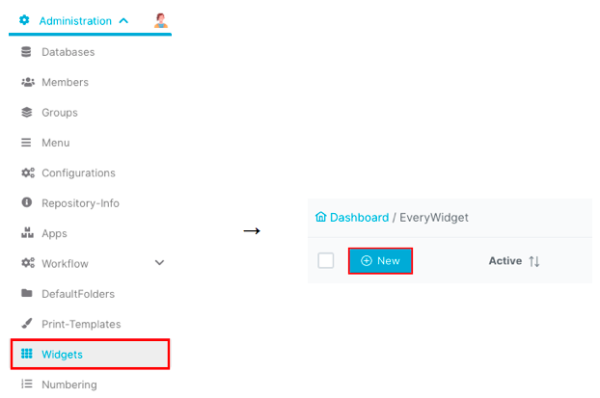
The app is available to admins for installation under the following path: “Administration” / “Apps”, and it can be accessed for usage under the “Administration” / “Widgets” path.

New widget can be created by clicking on the "New" button in the upper left corner:

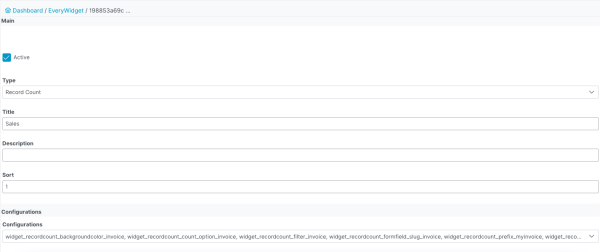
The following properties have to be set for each widget:
|
Property Name |
Description |
|---|---|
|
Active |
Specifies whether the widget is currently visible on the “Dashboard” or not |
|
Type |
Type of widget. Possible values are described as subchapters of this chapter |
|
Title |
Name of the widget, visible at the top line of the widget area |
|
Description |
Short description of the widget |
|
Sort |
Specifies the position, i.e., ordinal number, of the widget on the “Dashboard” |
|
Configurations |
Specifies the set of configurations that apply to the widget |
|
Group |
Specifies to which groups will the widget be visible Note: This field is only available in “Edit” mode, i.e., it is not visible when you initially create a widget. |
Fields “Configurations” and “Group” are available only in edit mode of existing widgets. That is, a widget has to be initially created without these settings.
Active configurations for all widgets can be found under the “Configurations” option in the “Administration” menu. Non active, but existing configurations are mentioned in the corresponding widget's section. Their names are static, i.e., should not be changed, as their origin is in the application's source code. Should it be changed only in the application, it would lose its functionality.
A complete widget's form looks like in the image below (Sales widget):

Clicking on “Save” or “Save and exit” button will add this widget to the solution.
Users with admin privileges can create new, edit or delete existing widgets. Editing and deleting can be done by clicking the appropriate button on the left side of desired item, i.e., desired widget:
Edit widget:
![]()
Delete widget:
![]()
Additionally, changing the order of widgets may be done by clicking on “Sandwich” button on the left of an item, i.e., widget, and dragging it to desired position. This will automatically change the value in “Sort” field.
![]()


